design in mind

Before and After (2 years later)

 I can't believe I am just now posting these, yet then again, I can.  It's been such an incredible two years, so FULL.  And I just never got around to it!  Partly because things never seemed finished, partly because it seemed like a lot to have both rooms open and available to shoot. :-)
 I posted years ago, 8 months pregnant with the twins this image.  It was a cost-effective plan to add on a bedroom and entry to help make room in our small home for our small twins.  It's been a great addition.


There is an amazing "God story" behind how we were able to make the addition, the teams of friends and family coming to help with it and the super salvage skills that it took to get all of the materials to fit in our budget.


It was stressful, but so fulfilling.  And now, it's a part of our home, just as the twins are a part of our family.  

Here is the before of the entry/ entrance to the boys' room:
(this is looking from the living room.  The door shown was a doorway to the garage, stairs lead up to the converted loft which is now our bedroom (Carpet still there, yuk!).
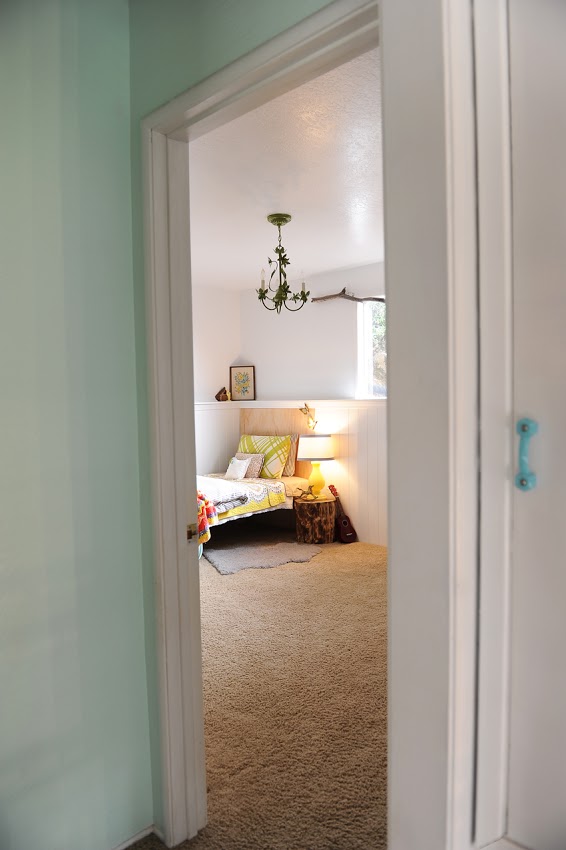
 After:
(view from the cut out/ door way)
There are two french doors behind the lockers that open to a laundry room and tiny bathroom which has been designated for the boys.  This is the only part of the house that is still original (and it's not a pleasant scene!).
Before:
(previous garage, looking at door way into the home)
After:
The wood panels are from scrap trim, stained or painted different colors we had in the shop.  I originally wanted a beam to show, but the header wasn't too pretty, so these worked. I'm pleased with how it turned out.
My neighbor tore down his old split rail fence.  I grew up with one that lined the property.  Too much nostalgia to pass up!  He gave me a few pieces (one hangs above our bed).  Loved the moss on this piece.
 I found these lockers from a salvage yard for $60 (never mind that I used about $50 worth of gas to go pick them up!).  
Aside from painting over a few profanities, they're in original, rusty bliss condition... Loved them just as they came.  
We added plain wood and hooks for all of the backpacks, ergos, purses, etc...it's typically much more full over there!
The lockers hold everyone's shoes and keep the dirt contained and away from the rest of the house (I suppose that's why the call it a mud room).
 Our entry:
(everyone was so kind offering items hanging around in their barn (like this door), old windows, old wood. Seriously, this was a group effort to make room for the babies... 
 Before:
(see the blue painting tape on the ground?  This was the outline for our plan) Also, here's a look of the cinder block our whole home is made of before we plastered over it!)
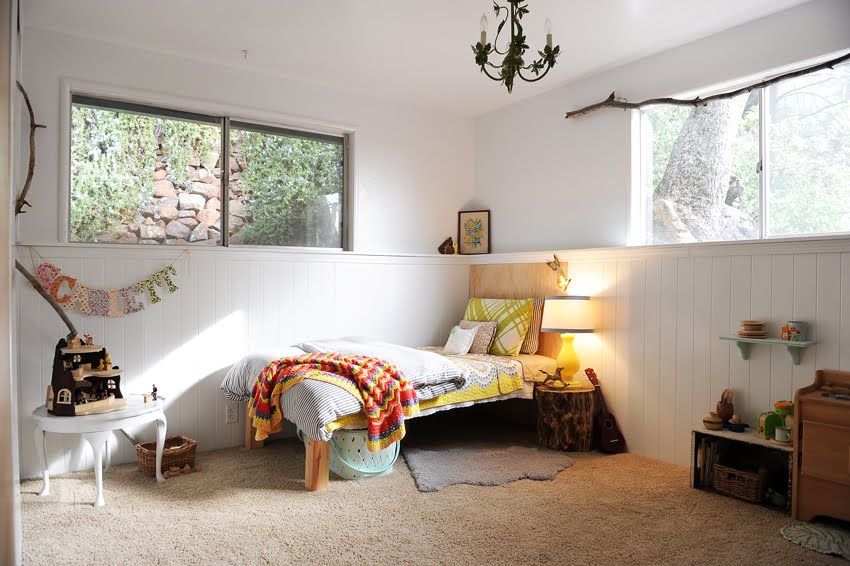
After:
(Hang tight, the room is definitely still in transition.  I have exciting news to share about this space very soon!)


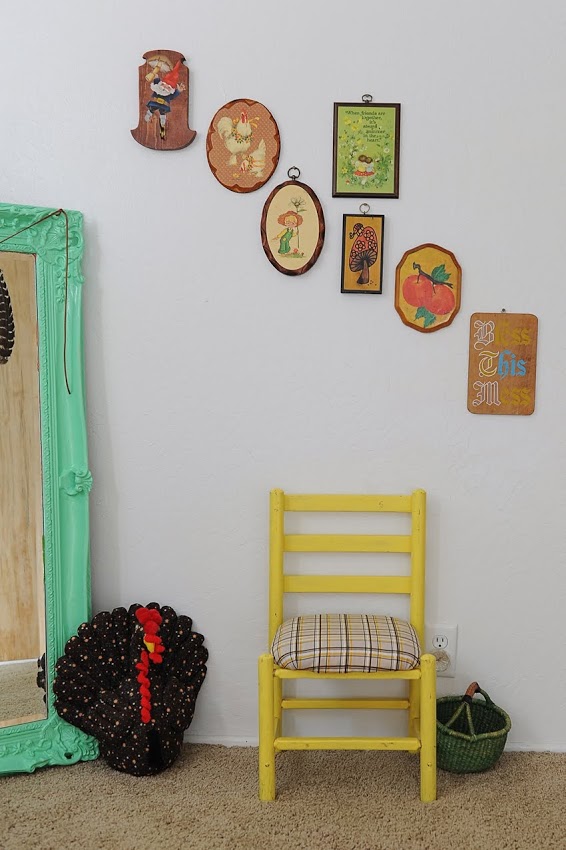
So there you have it! I've hesitated to post picts of this space because it's never been exactly how I wanted it... but I wanted to make sure to show it as it is now... everything thrifted and very much a joint project with my two little outdoorsmen. (you can certainly pick up on their interests!)

Wally-Lu's New Room

Jason took the three oldest kids to Southern California two weeks ago for four whole days! Being that the twins and I were alone that entire time, I couldn't let productive time be wasted. 

Scarlett has been ready to transition from crib to bed for quite some time, but we just haven't had the money to purchase a bed or mattress for her. Thankfully Gigi sent a package of a hand-me-down daybed, mattress, sheets, and mattress cover. We call her Fairy Grandmother. I tried tried tried my hardest to imagine the daybed painted. Tried. But I just couldn't do it for some reason. I just wanted simple (do you know me doing anything but?!). 

 So, the twins and I made her a little platform bed. Don't be too impressed, it's far from what you would find anywhere but on the shelves at Lowes... you see, I really only had $20 to makeover her room with (although I ended up scrounging another $20 for some extras). So an 8 ft 4X4 and a sheet of plywood later, her bed was made (and an incredible amount of muscle cutting those legs evenly).

I purchased a 1/4" piece of plywood to act as a headboard and sealed it with Shelac to keep it light and plain. I used the rest of the sheet as an accent wall (not pictured).  It will work as an excellent backdrop for newborn picts when parents choose to come to my home rather than their own.

All of the linens were thrift store finds in the past.  There will be a quilt in the works pretty soon with some vintage fabrics I have been collecting, but for now, I decided to "splurge" and buy the striped duvet cover on ebay for $15.  It balanced out her room a bit...it was getting a little too vintage and busy for me.

I took Jason's stump that he uses for kindling and sanded it down. My apologies, hun, you're going to have to saw yourself another cutting stump.

You will recognize the lamp from the twins' room, which has lately been simplified (a lasting process in this home).  The butterflies were another thrift find way back. I've been saving them for her when we made this change.

She already had this whole kitchen set up. But it sure makes me smile. I adore this kitchen and it was worth the pool of family members for Christmas and her first birthday to get it!  This is a piece that will be in our family for generations, I hope.  Plus, it smells of essential oils, who knew pretend play could be therapeutic?    

Sorry for the lighting, it was a poor time of day to photograph, but the house was empty for a few minutes, so I took advantage!

The twins and I went stick scavanging for her window & "barn corner". I hung the branch on the window with L-brackets, which pretty much hang everything else in this house.
I also repainted her chandelier and removed the girly-crystals.

Her name I've had since her nursery.  I usually don't keep things around if I'm not using them (I didn't use them when we moved here), but I just adore these letters from Land of Nod.  I pulled off the backdrops that I made for each letter and simplified them (recurring).

I say barn corner because of what she has turned this little fairy house into.
I had a client ask if I wanted it as a partial trade for photos (we share the same appreciation for Waldorf/Montessori toys). I obliged.  Scarlett wasn't really into the fairies that came with it, but she did create a barn for her animals... that's my kind of girl. :-)  Now the whole crew can be found playing in this little corner of hers (guy using a chainsaw courtesy of none-other-than Everett).

A little extra piece of wood.  I love using pieces of nature from our property as decor.
Makes the maintenance of said property worth it!

Turkey feather garland.  It took five minutes and completed the natural look of her room.

Plus, that little turkey needed some kinship, right?!
The remaining $5 was used on these little plaques from various thrift stores & the turkey.
The mirror got another color (I think this makes it the 4th color it's been painted!), the chair go reupholstered with scrap fabric.
 
And the name you ask?  Bobbi has labeled our family as "Wally" because of the way our lifestyle can tend to mimic some Waldorf beliefs... as soon as Jason saw the room for the first time, he responded, "well, it looks very 'Wally', that's for sure!"...
and I suppose it does.